I was a little torn how I was going to start this blog deciding whether to write about the need for cassettes in a dental practice or how to actually set up and use your cassettes. I decided to do a little bit of both. I feel like we’ve moved past the days of instrument packs right? Well, no… If that was the case, there would be no need for this blog post.
Dental offices are still doing things this way:

How can you find anything in this mess?
Forget this! Utilizing cassettes is the easiest, quickest, most affordable and effective ways you can improve your practice right now.
Let’s just talk about time savings. If you are currently using trays and bagged instruments it takes an extraordinary amount of time to:
- Set up the tray
-
Break down the tray
-
Sterilize the tray
-
Handle the instruments
-
Sort the instruments
-
Bag the instruments
-
Set up a new tray
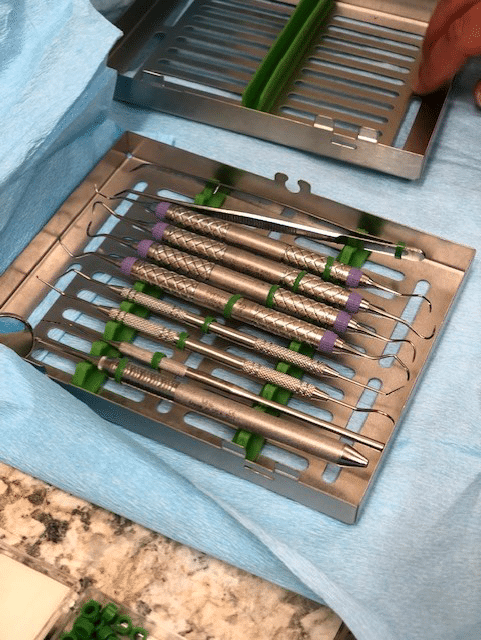
Cassettes only need to be set up once. You create a set of standards, and then repeat them. Every instrument has a slot and every slot is full. Once you’ve completed the treatment procedure, the instruments are placed back in the slot you found them (from your standard cassette set up), and the cassette is closed before it ever leaves the operatory. It does not open again until it is sterile and ready for patient care.
It’s physically impossible to not have what you need in your cassette if it was set up properly on day one. The last thing you want to do is waste any of your time, and any interruption during the scheduled appointment is waste. Cassettes are by far the safest method for deploying dental instruments to and from the treatment rooms. I haven’t even brought up the broken instrument situation. You are 10 times less likely to break an instrument or scratch a mirror when your instruments are placed in a slot and locked in. Think about that for a second! I knew a number of practices who bagged their mirrors separately from their other bagged instruments just to protect the face of the mirror from scratches.
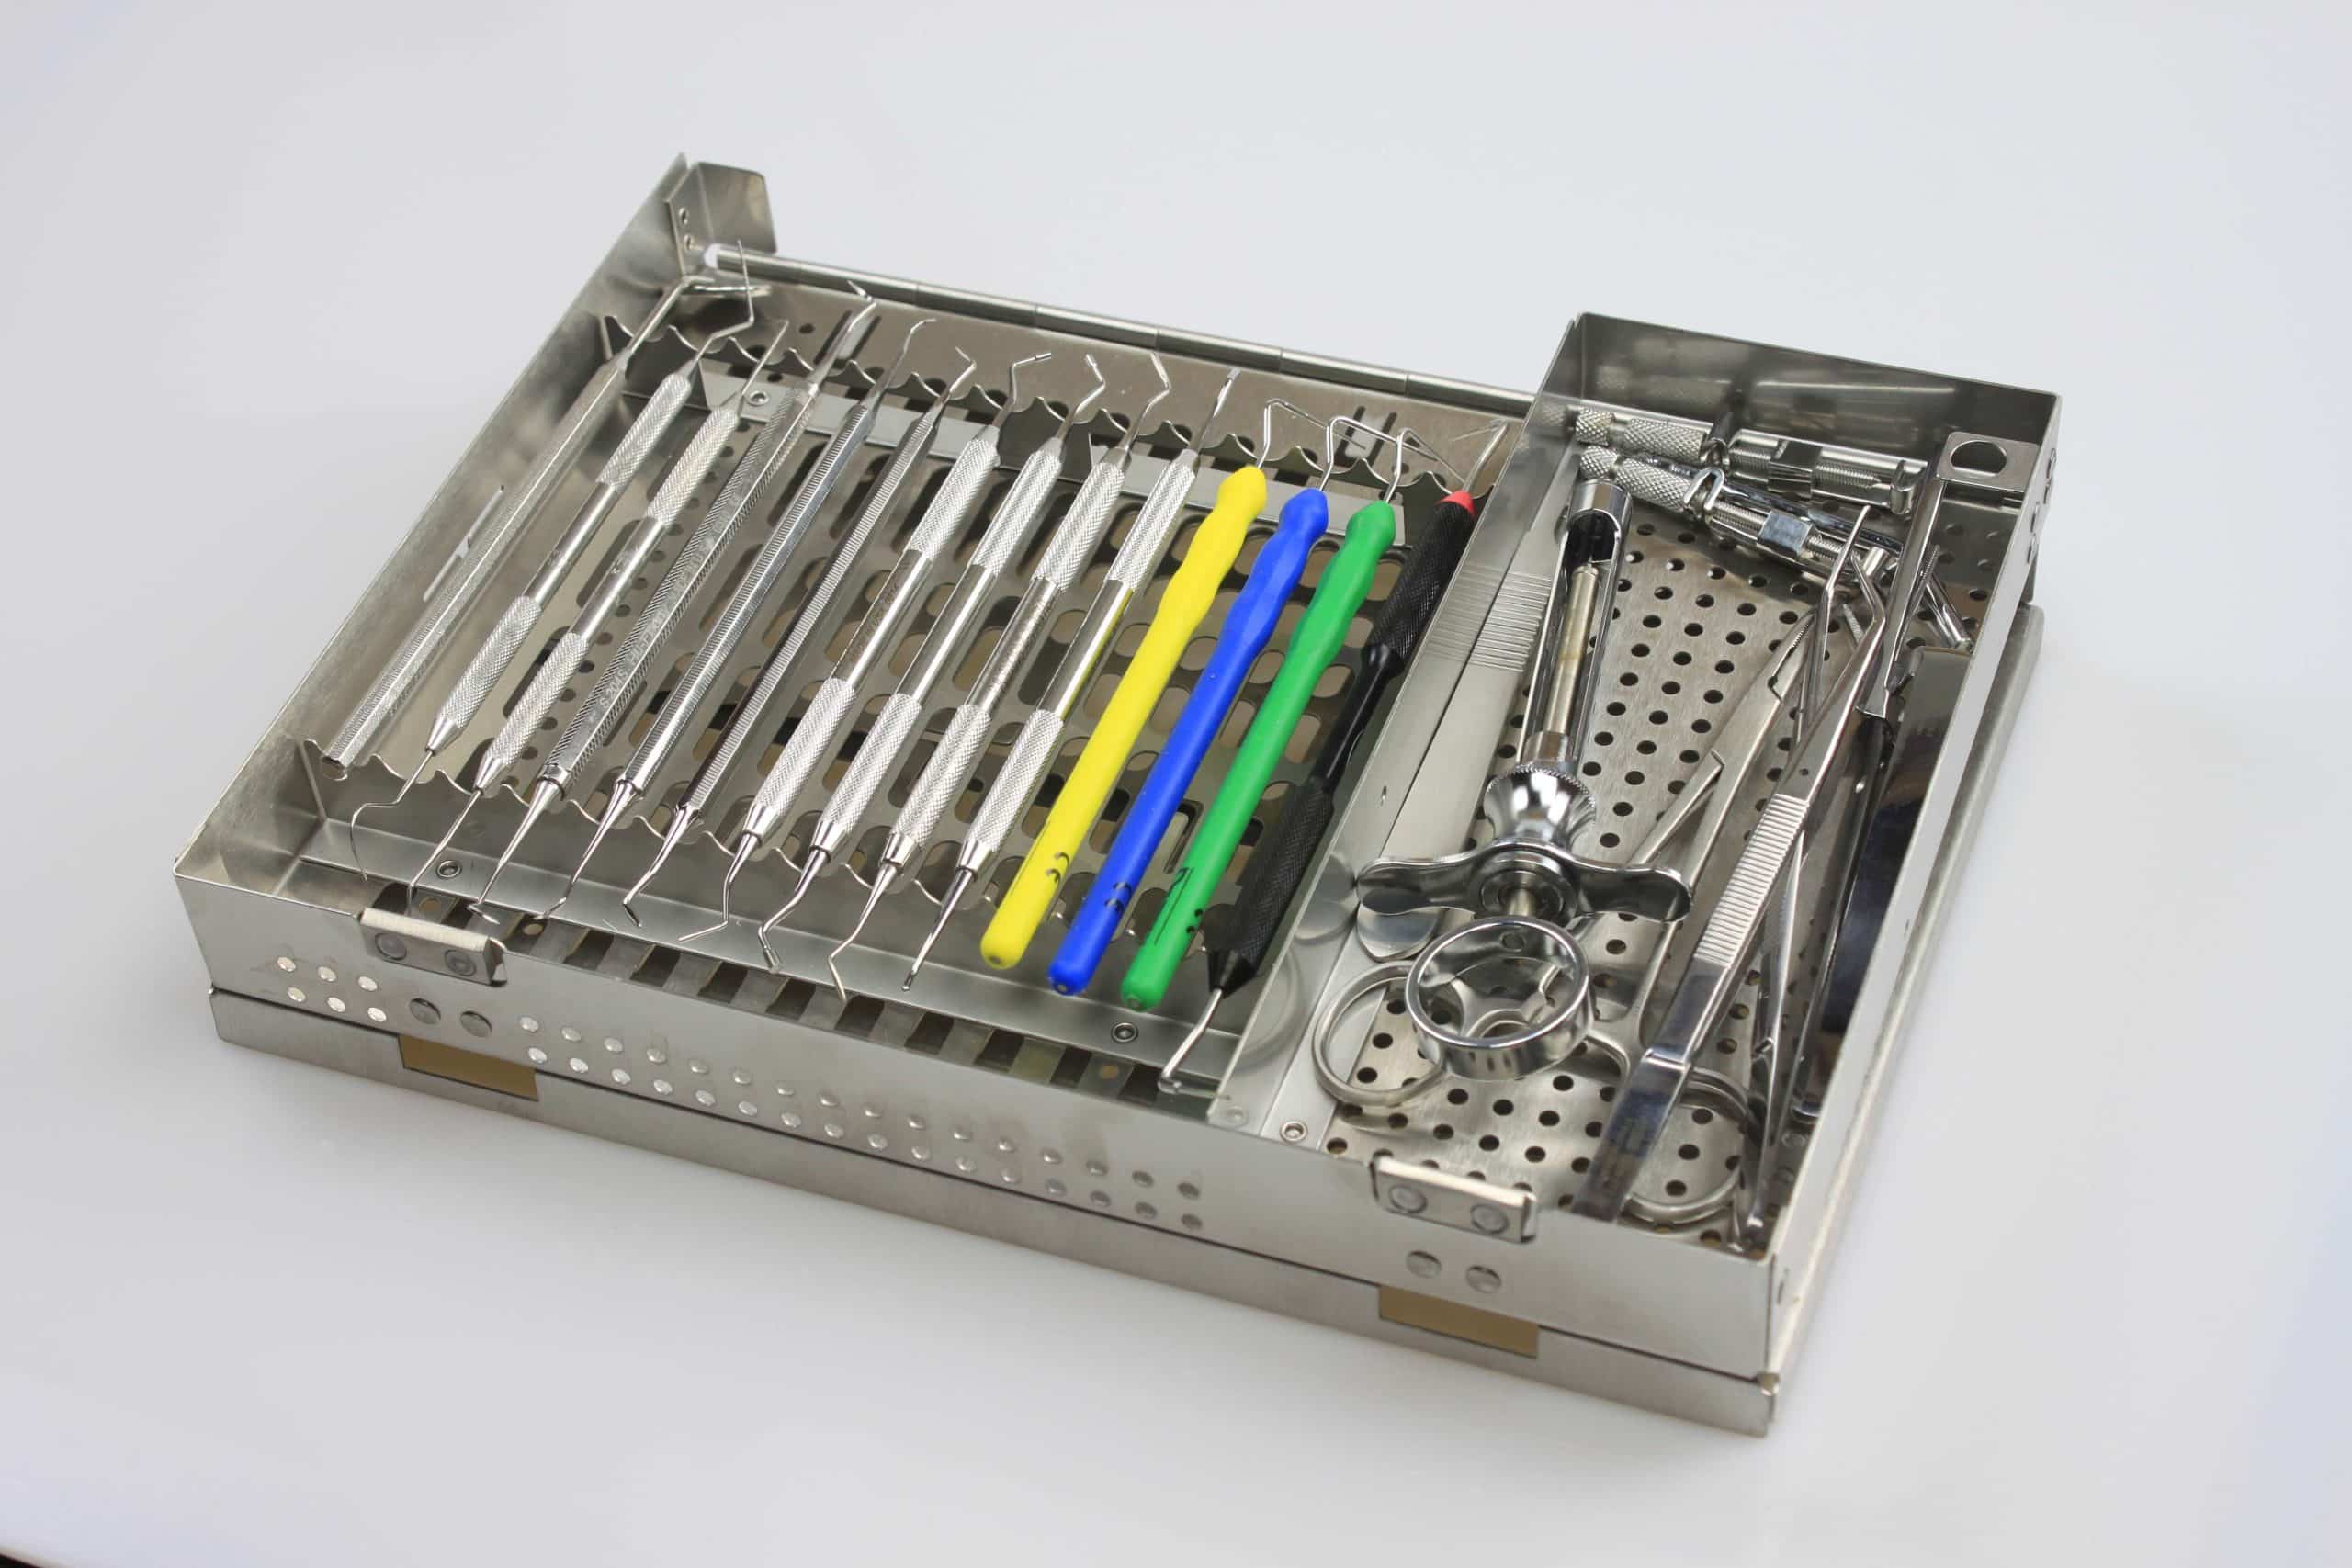
Of course, when implementing cassettes we must consider an autoclave with a large internal chamber. Our practices use a Midmark M11 which can support a standard load containing two 14-instrument, three 9-instrument, four 7-instrument cassettes - and 6 bags (handpiece scaler tips, etc). After autoclaving, the cassettes are wrapped, not bagged. The wrap can be taped using color coded tape indicating which cassettes.
Now that we’ve determined that cassettes are a must, let’s discuss what type of you’ll need. Don’t consider plastic cassettes; plastic stains and tends to wear over time. You may not care about this but if it is visible to your patient, a stained cassette might leave a sour taste in their mouth. Go with stainless steel metal cassettes. Hinged or unhinged? Hu-Friedy makes a nice unhinged cassette. PDT (Paradise Dental Technologies) and Miltex both manufacture a beautiful hinged cassette (my friends at Ergonomic Products can provide those). I prefer hinged simply because it’s less cumbersome to work with. It’s one piece; the hinge is designed to flip up, back and under, taking up minimal workspace.
Yep, you’re ready for cassettes! How will you use them? Let me give you a little advice. Universal set ups are key! You need one operative set up; one hygiene set up; one exam set up. Determining how many of each standard set up is the next question. Remember, we have already simplified your process. I like to use the morning scenario. For instance, how many hours do you work in a morning? If a hygienist is scheduled with a patient every hour for five hours before taking a break, then you will need 5 hygiene cassettes.
I get more questions about the operative set up than any other. We are talking about your bread and butter dentistry like crown and bridge and fillings. If you were to lay out the set ups for each of these procedures, it’s likely only 2-3 instruments different from one to the other, so keep it simple and just make one! That’s right folks, one set up for all things operative. (There’s that ah-hah I’ve been waiting for!) For your Garrison instruments and rings, there’s a cassette for that. I know those darn things are expensive, so let’s not run the risk of an accidental garbage toss. For your rubber dam instruments, there’s a cassette for that too! Put those pieces and parts in a cassette and feel confident you’ll have what you need when you need it. Our “Guide To Maximizing Productivity” book gives a detailed listing of the 5 most common set ups. Interested? Shoot me an email, and I can send you one.
For processing, the cassette flows through sterilization as a whole unit. Dispose of needles and anesthetic chairside, wipe instruments with a 2x2 and return them to the cassette in their designated slot. Close the cassette. Place handpieces, cavitron tips, bur blocks, etc on top, transport your instruments into sterilization, and place your cassette into a sink half-full of enzymatic solution & water and let it soak. Lubricate your handpieces. Bag your Cavtiron tips. You are now ready to grab a sterile cassette. The process is so simple, anyone can do it. I’ve given you the what and the how. But here is the why!
I am confident, doctor, that you don’t want to waste money. Are you looking for opportunities to make your dental practice more productive? We’ve determined implementing cassettes could save 5-10 minutes per dental procedure. What does that mean to you? Well, let’s look at your production per hour. Now, let’s break it down to minutes. If you produce $1000/hour, then the value of each minute is $17. That’s $85 to $170 of production savings per procedure. Do you like apples? How about those apples?!?
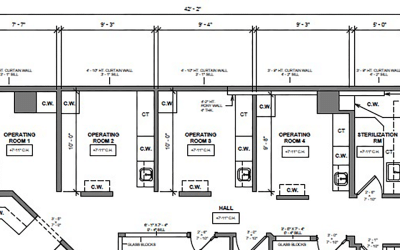
Using cassettes is a key part of a highly efficient dental office design. Cassettes require less space to store. They are easy to stack. Think about how much money is spent on broken or missing instruments, not to mention (but I’ll mention) injury costs. If you set your practice up eliminating or significantly reducing the possibility of errors, you will have improved the culture of your practice by providing the necessary tools your team needs for success.
Picture it. You’ve trained your butt off in dental school to be the best at your craft. Now, you find yourself at the starting line of the biggest race of your life - the marathon of running an efficient dental practice - but you’ve forgotten to tie your shoes. Don’t trip up! Strap on the velcro or tie up those laces. Let the implementation of cassettes be your feet. You’re off to the races.
If you’re interested in finding out what your dental practice needs in order prevent errors when it comes to instrument processing, email me.